Traveling by Plane with a Small Bird in Cabin: First-Timer's Checklist
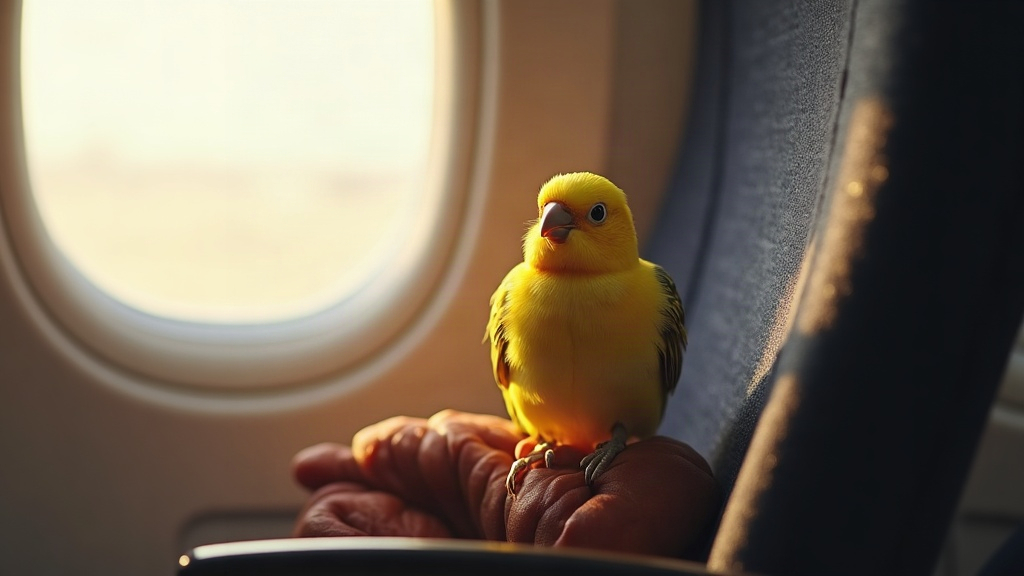
Flying With a Small Bird: A Step-by-Step Checklist
Traveling by plane with a small bird is doable, but let’s be honest, it takes more legwork than flying with a dog or cat. Birds pick up on stress fast. Pressure changes rattle them. A ten-degree temperature swing in a jet bridge can throw a budgie off for hours. And airline rules? They’re all over the map, literally changing from one carrier to the next. This checklist covers what you actually need to do, from the moment you book to the second you land, so your first flight with your feathered roommate doesn’t turn into a disaster story you tell for years.
Can You Really Bring a Bird on a Plane?
Yes. Plenty of airlines will let you bring small pet birds in the cabin, think budgies, cockatiels, lovebirds, canaries, even smaller parrot species, usually tucked in a carrier that slides under the seat in front of you. A few things to keep in mind, though:
- Domestic and international rules are worlds apart. Some countries flat-out ban bird imports or demand quarantine periods that stretch into weeks or months.
- Not every airline will take your bird. Delta stopped accepting most pet birds a while back. United and some regional carriers still allow it, but with conditions that can change by route.
- Birds don’t qualify as service animals. Full stop. They’re pets in the eyes of every airline, so you’ll pay the pet fee and follow the pet carrier rules, no exceptions.
Don’t trust a random blog post (including this one) as your final word. Call the airline’s pet travel desk directly. Policies shift often, sometimes mid-season, and the general FAQ page rarely keeps up.
Step 1: Book the Right Flight and Confirm Pet Policy
- Call the airline 2 to 3 weeks before your trip and confirm, in plain terms, that birds are allowed in-cabin on your specific route. Not just “birds in general,” your route.
- Ask how many pets the flight allows total. Most airlines cap in-cabin pets somewhere between 2 and 6 per flight, and once that’s full, you’re out of luck even with a ticket.
- Get written confirmation by email. Gate agents have been known to have zero idea a bird reservation exists, and an email saves you an argument at 6 a.m.
- Skip connecting flights if you can. A two-hour layover in a noisy terminal is exactly the kind of stress that turns a calm bird into a feather-plucking mess.
Step 2: Choose an Airline-Approved Carrier
The carrier is the single most important thing you’ll buy for this trip. Don’t cheap out here.
- Size: It has to fit under the seat ahead of you, generally around 17–19 x 12 x 8 inches, but check your specific airline because some are stricter by an inch or two.
- Ventilation: Mesh on at least three sides. Your bird needs airflow and a clear view out, not a dark box.
- Security: Hard-sided or a sturdy soft carrier with zippers that actually lock shut. No wobbly perches, no doors that pop open if bumped.
- Footing: A short, stable perch, or just a flat non-slip base. Some birds actually do better standing flat during takeoff and landing rather than balancing on a perch while the plane shudders.
- Skip wire cages entirely. Neither the airline nor TSA wants to deal with an open-wire cage in the cabin.
Give your bird at least a week of practice time in the carrier before the flight. Short car rides help too. The goal is simple: travel day shouldn’t be the first time your bird has ever sat inside that box.
Step 3: Get a Health Certificate and Documentation
- Book a vet visit within 10 days of departure (earlier if you’re flying internationally) to get a health certificate.
- Make sure the vet actually knows birds. A general practice vet who mostly sees cats and dogs may not catch early signs of stress or illness in an avian patient, so look for someone with real avian experience.
- Flying internationally? Start researching import permits, CITES paperwork (required for many parrot species), and quarantine requirements months in advance. Some countries take 8 to 12 weeks just to process the paperwork.
- Keep both printed and digital copies of everything. Phones die. Printers jam. Have both.
Step 4: Prepare for TSA Security Screening
- Your bird comes out of the carrier for screening. The empty carrier goes through the X-ray belt on its own.
- Hold your bird securely, a small harness works well, or just cup it gently in your hands, and walk through the metal detector together.
- Get to the airport early. Bird screening takes longer than the usual cat-or-dog routine, especially if the TSA agent on duty has never handled this before (and many haven’t).
Step 5: Day-of-Flight Tips
- Skip the heavy meal 1 to 2 hours before boarding to cut down on motion sickness, but don’t withhold water. Hydration still matters.
- Drape a light, breathable cloth over part of the carrier during takeoff and landing, the two loudest and most jarring moments of the whole flight.
- Keep the carrier under the seat the entire flight. Not the overhead bin, not your lap in the aisle, under the seat.
- Don’t open the carrier mid-flight. Cabin pressure shifts and unfamiliar engine noise can spook a bird into bolting, and there’s nowhere for it to go but straight into chaos.
- Pack a small kit: extra seed or pellets, a water dropper or tiny dish, paper towels, and a spare lightweight cover in case the first one gets damp or dirty.
Common Mistakes First-Timers Make
- Booking the flight first, then calling about pet policy second, and ending up rebooking in a panic.
- Buying a carrier that looks fine at home but doesn’t actually fit under the seat, which gets you turned away right at the gate.
- Skipping carrier practice, so the bird’s first experience inside the box is also its first flight. Not a great combo.
- Forgetting that layovers mean extra hours of noise, bright lights, and crowds, all stacking more stress onto an already long day.
Final Thoughts
Flying with a small bird in the cabin is absolutely manageable once you’ve got the right carrier, the right paperwork, and a calm routine going into travel day. It really comes down to a few basics: confirm the airline’s pet policy early, get your bird comfortable with its carrier well before departure, line up proper vet documents, and keep the stress low on the day itself. Nail those, and your first flight together has a real shot at going smoothly, setting you both up for easier trips down the road.