Building a Foraging Tray for Finches Using Only Cardboard and Twine
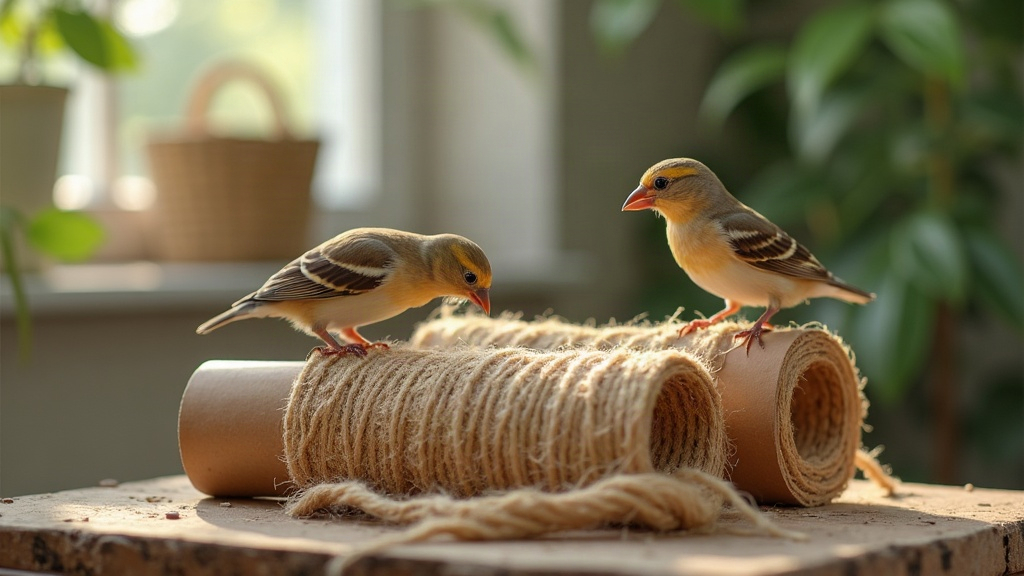
Building a Foraging Tray for Finches Using Only Cardboard and Twine
Finches don’t sit still for long. In the wild they spend most of the day picking through grass, prying seed heads apart, checking every gap for something edible. Put that same bird in a cage with a dish of seed just sitting there, and you’ve taken away its whole job. Boredom creeps in, then feather picking, then overeating. The fix doesn’t need to be fancy: a foraging tray for finches made from only cardboard and twine costs basically nothing, needs no glue or plastic parts, and takes maybe twenty minutes to build. Here’s how to turn a flattened box into something your flock will actually work for.
Why Finches Need Foraging Enrichment
A finch in the wild scratches through grass clumps, tears into seed heads, pokes around every crevice hoping for a snack. Put food in an open bowl and all of that disappears overnight. A foraging tray brings the “work” back into eating, and the payoff shows up fast:
- Mental stimulation — hunting for hidden food and figuring out how to get it keeps a bird’s brain busy instead of idle.
- Physical exercise — hopping around, pecking, tugging at twine, all of it works the legs and feet.
- Slower eating — seed scattered across a tray takes longer to finish than seed piled in a cup, which helps with weight control.
- Natural behaviors — scratching, carrying bits around, shredding paper, these are things finches do anyway. Might as well give them a proper outlet.
The nice thing is you probably already have the materials sitting in a closet. Cardboard and plain twine, used the right way, are completely safe for finches.
Materials You’ll Need
Keep it plain. No ink, no glue residue, no tape, no coated surfaces.
- Corrugated cardboard — an old shipping box or an empty cereal box does the job.
- Natural twine — jute, sisal, or hemp. Skip synthetic string entirely; it can wrap around a toe or get swallowed.
- Scissors (for you, obviously not the birds).
- Finch seed mix, a millet spray, or a few small treats.
Step-by-Step: Building the Foraging Tray
1. Cut the Base and Walls
Cut a rectangle of cardboard roughly 20 x 30 cm (8 x 12 inches) for the base. Then cut four strips about 5 cm (2 inches) tall for the walls. Keep the walls low. Finches need to see the food from outside the tray and hop in and out without effort, but the sides should still be tall enough to keep seed from scattering across the whole cage floor.
2. Fold and Weave the Walls
Skip the tape, skip the glue. Twine does all the work here. Poke small holes near the edges of the base with a pen tip, then thread the twine through and around each wall strip, lacing it much like you’d lace a shoe. Knot it securely underneath so nothing pokes up inside where a bird could catch a foot on it. The result: a glue-free, chew-safe little tray held together entirely by string.
3. Add the Foraging Layers
This is really the whole point of the project. Layer the tray so your finches have to dig a bit for their food:
- A thin layer of shredded plain paper or torn cardboard strips on the bottom.
- A light sprinkle of seed mix worked into that layer.
- A couple of millet sprays tucked under the strips, not sitting on top in plain view.
- Small cardboard tubes or folded flaps with a few seeds stashed inside.
4. Create Twine “Challenges”
Tie a few short pieces of twine into loose, easy knots and weave one or two strands across the top of the tray, almost like a loose net. Hang a millet spray from a twine loop so a bird has to tug and nibble to get anywhere near it. Keep every knot loose and every strand under 5 cm. Tiny feet and beaks find their way into tight loops surprisingly easily, so don’t give them the chance.
5. Place and Rotate
Put the tray on the cage floor or a low, steady shelf. Watch the first couple of sessions to make sure nobody’s getting stuck or spooked. Then swap the contents every two or three days: trade the millet for a bit of leafy green, drop in a fresh cardboard tube, retie the twine in a different pattern. A tray that never changes stops being interesting within a week.
Safety First: Rules That Matter
- Use only plain cardboard. Nothing glossy, printed, or covered in tape.
- Stick to natural fiber twine. Jute, sisal, hemp, that’s it. Cotton string frays into long threads that can wrap around toes.
- Check it daily. Anything soiled, soggy, or chewed to bits gets replaced right away.
- Watch for actual ingestion. Shredding cardboard is normal; swallowing chunks of it isn’t. If you catch a bird eating rather than shredding, pull the tray and rethink the setup.
- Replace the whole thing weekly or sooner if it’s looking rough.
Common Questions
How long will a cardboard tray last? Somewhere around one to two weeks, depending on how enthusiastic your birds are about shredding. That’s not really a downside. Rebuilding it is part of the enrichment cycle, and since the materials are free, who cares if you’re making a new one every ten days?
What if my finches are afraid of it? Sprinkle a few visible seeds on top and leave the tray sitting near, or just outside, the cage for a day. Once they spot familiar food, most finches will be in there poking around within 24 hours.
Can I use this for other birds? Sure, the same basic design works for canaries, budgies, and most small seed-eaters. Just size the tray up or down depending on the bird.
Conclusion
A cardboard-and-twine foraging tray might be the cheapest real upgrade you can make to a finch’s daily routine. It brings back the searching, scratching, tugging behavior these birds are wired for, keeps them busier and more alert, and costs less than a single toy from the pet store. Put one together this afternoon, watch how fast your flock figures it out, and keep rotating the layout every few days. Busy finches tend to be healthy finches.